


India’s digital economy is growing fast. Learning to make mobile apps is a vital skill for 2026. Experts use new tools to make apps that work well on all devices.
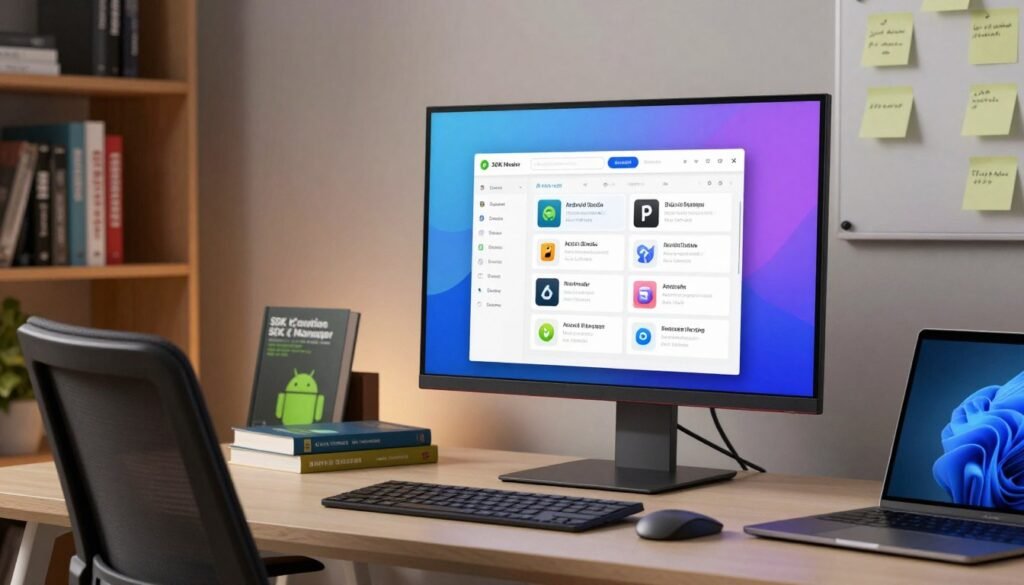
Official guides say Jetpack Compose is the best for beginners. It makes making user interfaces simple and efficient. It’s a great way to start in the global mobile market.
Almost all big mobile platforms use this coding language today. It makes productivity and code safety better for teams. Research shows 95% of top tools use these advanced methods.
Learning these systems helps you stay ahead in the tech world. You’ll see how easy it is to start your own project. Begin your learning today to lead in the digital future.
Key Takeaways
- Most popular mobile tools: 95% of top-tier software uses this coding language.
- Jetpack Compose: This modern toolkit simplifies user interface design for creators.
- Career Growth: Learning these skills is vital for the 2026 market in India.
- Productivity: Professional engineers see a massive boost in safety and efficiency.
- Official Resources: Google provides excellent documentation for starting your journey.
- Competitive Edge: Modern skills help you stand out in the global tech industry.
1. Why Choose Kotlin for Android Development in 2026
Kotlin is the top pick for Android development in 2026. It’s known for its simple code and works well with Java. Many Android developers choose Kotlin because it’s Google’s favorite and it’s safe and fast.
Kotlin as Google's Preferred Language
In 2017, Google chose Kotlin as a top language for Android. This made Kotlin very popular. Google’s support and updates have made Kotlin even more popular in Android development.
Performance and Safety Benefits
Kotlin is loved for its speed and safety. Its simple code means less mistakes and easier updates. It also stops null pointer exceptions, which can crash apps.
Kotlin also has other benefits like:
- It works well with Java, so developers can use what they already know.
- Coroutines make coding easier and apps more efficient.
- In-line functions cut down on extra steps in code.
Growing Kotlin Community in India
The Kotlin community in India is getting bigger. There are many meetups, conferences, and online groups. This shows Kotlin is getting more popular. Indian developers are helping grow the Kotlin community by sharing their knowledge.
Why is Kotlin getting more popular in India? It’s because:
- Indian companies are using Kotlin to make their apps better.
- There are training and certification programs for Kotlin.
- There are many events and conferences for learning and networking.
2. Prerequisites and System Requirements
Knowing what you need before starting Android app development in Kotlin is key. Make sure your system is ready and you know what you’re doing.
Hardware Requirements for Android Development
You’ll need a strong computer to make Android apps. It should have a fast processor, at least 8GB of RAM, and lots of space for files. A 64-bit CPU is best for speed.
A good computer helps a lot. It makes running Android Studio and the emulator easy.
Software Dependencies You Need
For Android app making with Kotlin, you need some software. Android Studio is the main tool, and it has everything you need.
You also need the Kotlin plugin, which comes with Android Studio. Keeping your software updated is important for safety and working well.
- Android Studio
- Kotlin plugin
- Java Development Kit (JDK)
Basic Programming Knowledge Expected
You don’t need to know how to code before starting. But knowing some basics helps. Knowing about variables, data types, and control structures is good.
Basic programming knowledge means you should know about objects and coding well.
3. Setting Up Android Studio and Development Environment
Android Studio is the main tool for making Android apps. It’s your first step to making your first app. This guide will help you download, install, and set up Android Studio. You’ll also learn about the tools and emulators you need for easy development.
Downloading and Installing Android Studio
First, go to the Android Developers website to download Android Studio. Make sure to pick the right version for your computer. After downloading, follow the setup instructions. The wizard will help you choose where to install it and what to include.
Key components to install include:
- Android Studio
- Android SDK
- Android Virtual Device
Configuring SDK Manager and Tools
After installing, set up the SDK Manager. It’s important for getting the tools you need. Open Android Studio, go to “Tools,” and choose “SDK Manager.”
Here, you can:
- Select the desired Android SDK versions
- Download necessary build tools and platform tools
- Install additional libraries and tools as needed
Setting Up Virtual Device Emulator
The Android Virtual Device (AVD) Emulator lets you test apps on your computer. To start, open the AVD Manager from the “Tools” menu in Android Studio.
Steps to create an AVD:
- Click on “Create Virtual Device”
- Select a device definition
- Choose a system image
- Configure any additional settings as needed
Troubleshooting Common Installation Issues
Setting up Android Studio can sometimes go wrong. You might face errors or problems with the SDK Manager or AVD Emulator. Issues can include compatibility problems, not enough disk space, or network issues.
Troubleshooting tips:
- Ensure your system meets the minimum requirements for Android Studio
- Check for any software conflicts or outdated drivers
- Refer to the official Android Studio documentation for specific error solutions
4. Understanding the Android Studio Interface

Learning the Android Studio interface is key to making great Android apps. It has everything you need for coding and debugging. This makes app development easier.
Project Explorer and File Structure
The Project Explorer helps you find your way around your project. It shows all files and folders in a neat list. You can find it on the left side of the screen.
Key features of the Project Explorer include:
- Viewing and managing project files and directories
- Creating new files, folders, and packages
- Deleting or renaming existing files and directories
Code Editor and Layout Designer
The Code Editor is where you write your app’s code. It has cool features like syntax highlighting and code completion. The Layout Designer lets you design your app’s UI easily.
The Code Editor’s key features include:
- Syntax highlighting and code completion
- Code inspections and quick fixes
- Code refactoring tools
Logcat and Debugging Tools
Logcat helps you find and fix problems in your app. It shows log messages that help you understand your app’s performance. Android Studio’s debugging tools let you set breakpoints and inspect variables.
Using Logcat effectively:
- Filtering log messages by severity and tag
- Searching for specific log messages
- Configuring Logcat to display relevant information
Knowing how to use these tools makes app development faster and better. It helps you create top-notch Android apps.
5. Creating Your First Android App with Kotlin
Kotlin makes making your first Android app easy. It has a simple syntax and cool features. We’ll show you how to make your first app with Kotlin.
Starting a New Android Project
To start, open Android Studio and make a new project. You’ll pick a template and set up your project.
“The best way to get started is to start.” – Mark Twain
When you open Android Studio, you see a start-up dialog. Here, you can make a new project. Pick “Empty Activity” for a simple start.
Selecting the Right Activity Template
Picking the right template is key. It sets your app’s basic structure. Android Studio has many templates, like “Empty Activity,” “Basic Activity,” and “Login Activity.”
For your first app, “Empty Activity” is best. It’s simple and easy to build on.
Understanding Project Structure and Files
After creating your project, know the structure. The main files and folders are:
MainActivity.kt: This is where you write your app’s code.activity_main.xml: This file makes your app’s layout.AndroidManifest.xml: It lists your app’s parts and permissions.
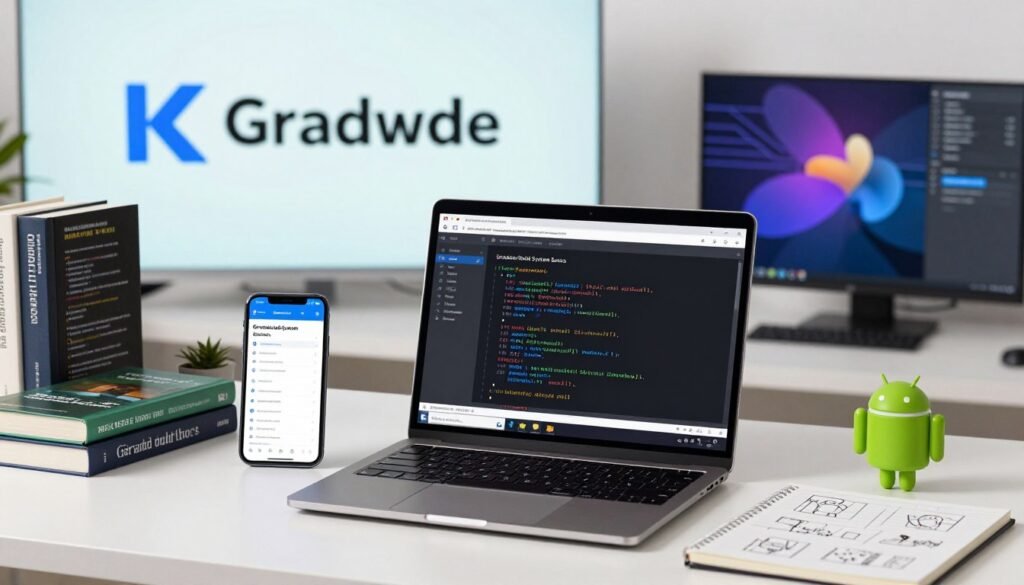
Gradle Build System Basics
The Gradle build system is key for Android app making. It handles building, manages dependencies, and lets you customize builds. Knowing Gradle is important for your project’s needs.
6. Essential Kotlin Syntax for Android Development
Kotlin is getting more popular in Android apps. Its simple and clear syntax is loved by many developers. Knowing its basics is key to making strong Android apps.
Variables, Data Types, and Null Safety
Kotlin checks the types of variables before you run the app. This helps find and fix errors early. You can use val for things that don’t change and var for things that do.
For example:
Kotlin also makes sure you don’t get NullPointerExceptions. You can make a variable nullable by adding a ? to its type.
| Data Type | Description | Example |
|---|---|---|
| Int | 32-bit integer | var age: Int = 25 |
| Double | 64-bit floating-point number | var price: Double = 19.99 |
| Boolean | Boolean value | var isAdmin: Boolean = true |
Functions and Lambda Expressions
Kotlin functions start with fun. They can have default values and be made inline for better performance.
For instance:
Lambda expressions are short and sweet. They’re great for working with collections and other functions.
Example of a lambda expression:
Classes and Object-Oriented Concepts
Kotlin supports classes, inheritance, and polymorphism. A simple class in Kotlin looks like this:
Kotlin also has data classes for easy data-only classes.
Common Kotlin Android Extensions
Kotlin Android Extensions make working with views easier. Even though they’re not used as much anymore, knowing them helps with older projects.
Learning these Kotlin basics will help you make better Android apps.
7. Designing Your App's User Interface
Making a good UI is key in Android app making. A nice UI makes users happy and helps your app do well.
Working with XML Layout Files
XML layout files are important for your app’s UI. They show how your app’s screens look. To work on a layout, go to the res/layout folder in your project. There, you can use XML to make UI parts.
Adding UI Components and Views
Android has many UI parts and views to build your app. You can use TextView, Button, EditText, and more. Just add their XML code to your layout.
For example, a button looks like this:
Understanding ConstraintLayout
ConstraintLayout helps make complex layouts simple. It makes your app run better by cutting down on nested layouts.
To use ConstraintLayout, add it to your layout. Then, set up constraints for its child views.
Styling with Colors, Themes, and Dimensions
Styling your app means setting colors, themes, and sizes. This makes your app look good. You can set these in res/values.
Colors go in colors.xml:
Themes are in styles.xml or themes.xml:
By using XML, UI parts, ConstraintLayout, and styling, you can make a great Android app.
8. Implementing App Logic and Functionality

The next step is to add logic and features to your Android app with Kotlin. You’ll link your UI to Kotlin code. This lets users interact and parts of your app talk to each other.
Connecting UI Elements to Kotlin Code
To make your app interactive, link UI elements to Kotlin code. Use findViewById or view binding to do this. For example, to get a button in your layout:
Or, with view binding:
Handling User Input and Click Events
It’s important to handle user input and click events. Set listeners on UI elements to react to events. For a button click:
For text input, use TextWatcher on EditText fields.
Working with Activities and Intents
Activities start your app’s interaction. Intents help activities talk to each other or other apps. To start a new activity:
Intents also pass data between activities.
“Intents are a powerful tool in Android development, enabling not just navigation between activities but also interaction with other applications and services.”
Managing App State and Lifecycle
It’s key to manage your app’s state and lifecycle. Activities and fragments have lifecycle methods. These methods let you act at different stages, like when your app starts or stops.
For example, save your app’s state when paused or stopped:
By adding app logic and features, you make your app smooth and fun. Always test your app well to make sure it works right.
9. Testing and Debugging Your Application
Testing and debugging are key steps in making an Android app. They make sure your app works right and is stable. It’s important to test your app on many devices and platforms to find and fix problems before it’s released.
Running Your App on the Emulator
The Android Emulator lets you test your app on virtual devices. You don’t need real hardware. First, set up a virtual device in Android Studio. You can do this by opening the AVD Manager and making a new virtual device with the right specs.
Once your virtual device is set up, pick it in Android Studio to run your app.
Benefits of using the emulator include:
- Testing on various screen sizes and resolutions
- Simulating different hardware configurations
- Testing on different Android versions
Testing on Physical Android Devices
Testing on real devices is also very important. It makes sure your app works well in real life. To test on a real device, turn on USB debugging and connect it to your computer. Android Studio should find the device, letting you test and debug your app on it.
Google says, “testing on real devices is key to finding issues that don’t show up on emulated environments.”
Using Logcat for Debugging
Logcat is a great tool in Android Studio for debugging. It shows log messages from your app and the system. It helps you find problems by giving detailed info about your app’s actions.
You can use Logcat to find crashes by looking for error messages. You can also add log statements in your Kotlin code to see how your app works.
Common Errors and How to Fix Them
You might run into many errors while developing, like syntax mistakes or runtime exceptions. Common problems include null pointer exceptions, out-of-memory errors, and activity not found exceptions. Knowing how to fix these errors is key to making a stable app.
A quote from a seasoned developer:
“The key to efficient debugging is to be methodical and patient. Understand the error message, inspect the relevant code, and use debugging tools like Logcat to identify the root cause.”
By testing and debugging carefully, you can make sure your Android app is reliable and works well. It will also give users a great experience.
10. Building and Optimizing Your App

Building and optimizing your Android app is very important. It makes sure your app is ready to share and works well for users. This step is key for your app to do well in the Android market.
Generating Debug APK Files
First, you need to make a debug APK. This lets developers test the app on different devices easily.
To make a debug APK, use Android Studio. Go to “Build” then “Build Bundle(s) / APK(s),” and pick “Build APK(s).” Your project will be built, and a debug APK will be made. You can find it in the project’s output directory.
Creating Signed Release Builds
After testing, you need to make a signed release build. This means making a keystore and signing your APK. You need this to post your app on the Google Play Store.
To make a signed release build, use the “Generate Signed Bundle or APK” wizard in Android Studio. You’ll pick your module, the release build type, and your keystore info.
App Size Optimization Techniques
It’s important to make your app smaller. A smaller app is better for users and gets more downloads.
To make your app smaller, you can use ProGuard to shrink your code. You can also reduce resource usage and use Android App Bundles to make APKs for different devices.
| Optimization Technique | Description | Impact on App Size |
|---|---|---|
| Using ProGuard | Obfuscates and minimizes code | Significant reduction |
| Reducing Resource Usage | Minimizes unnecessary resources | Moderate reduction |
| Android App Bundles | Delivers optimized APKs to devices | Significant reduction |
11. Publishing Your App to Google Play Store

Putting your Android app on the Google Play Store has many steps. It starts with a Google Play Developer account and ends with watching how your app does after it’s out.
Creating a Google Play Developer Account
First, make a Google Play Developer account. It costs $25 once. Just sign in with your Google account, pay, and give your name and email.
Preparing Store Listing and Assets
Get your store listing and assets ready before you upload. You need a catchy title and short description. Also, a detailed description, great screenshots, and an icon that fits Google Play’s rules.
Your store listing is key to getting users. Make sure your title, description, and graphics are good and follow Google Play’s rules.
Uploading and Releasing Your App
When your assets are ready, upload your app. You’ll need to upload the APK or App Bundle. Make sure it’s signed with a release key and set your release details.
Uploading your app takes a few steps. Get your APK or App Bundle ready and set your release details. Follow Google Play’s rules to avoid problems.
Post-Launch Monitoring and Updates
After your app is out, watch how it does with Google Play Console. Look at downloads, ratings, and crashes to see what to improve.
It’s important to keep an eye on your app’s performance and listen to user feedback. Regular updates can make users happier and fix problems.
Key Metrics to Monitor
| Metric | Description |
|---|---|
| Downloads | Number of times your app has been downloaded |
| Ratings | User ratings on a scale of 1 to 5 |
| Crashes | Frequency and details of app crashes |
| User Feedback | Comments and reviews left by users |
To have a good launch, be ready for all the steps of publishing your app.
12. Conclusion
Starting your first Android app with Kotlin in 2026 is exciting. You’ve learned the basics of making a working Android app with Kotlin.
You now know how to set up your work area, design screens, and write app code. You’ve also learned to test, fix bugs, and share your app on the Google Play Store.
To get better at making Android apps with Kotlin, look into Room persistence, WorkManager, and Jetpack Compose. These tools will make your apps stronger and faster.
Keep improving your app-making skills with Kotlin. Keep up with new trends and tips in Android app making. Join online groups like the Kotlinlang forum or Reddit’s r/androiddev to meet other developers and learn from them.
FAQ
Why is Kotlin the industry standard for building your first android app with kotlin in 2026?
Kotlin is the top choice because Google loves it for Android. By 2026, over 95% of top apps use Kotlin. It makes coding better and safer.
Its new way of coding cuts down on extra code. Plus, lots of developers in India and the U.S. help keep it improving.
What are the minimum system requirements to run Android Studio effectively?
You need a strong computer for Android Studio. Look for an Intel Core i5/i7 or Apple M3 processor. Also, 16GB RAM and an SSD are key for quick builds.
You’ll also need the latest Android Studio and Java Development Kit (JDK).
How do I troubleshoot common installation issues in Android Studio?
Setup problems often come from the Android SDK Manager or virtualization. Make sure Intel HAXM or Windows Hypervisor is turned on.
If the SDK won’t download, check your firewall. Also, make sure Gradle is set up right.
What is the significance of the Gradle build system in Android development?
Gradle helps Android Studio build your app. It compiles code, manages libraries, and packages your app. Knowing `build.gradle.kts` files is key for managing your app.
How does Kotlin’s null safety benefit new developers?
Kotlin’s null safety stops NullPointerExceptions. It checks if something is null before using it. This makes your app more stable and less likely to crash.
Why should I use ConstraintLayout for my app’s user interface?
ConstraintLayout makes designing interfaces easy. It creates layouts that work well on all devices. This means your app looks great on phones and tablets without slowing down.
What is the role of Intents and Activities in Android logic?
Activities are screens with interfaces. Intents are messages for other apps. Together, they help users move between screens and share data.
How do I test my application on a physical device instead of an emulator?
To test on a real device, like a Google Pixel 9, turn on Developer Options and USB Debugging. Connect your phone to your computer. Android Studio will let you test and see how it works.
What is the difference between a Debug APK and a Signed Release Build?
Debug APKs are for testing and have extra info. Signed Release Builds are safe and ready for the Google Play Store. They’re smaller and faster.
What steps are involved in publishing an app to the Google Play Store?
First, get a Google Play Developer Account. Then, set up your store listing with good pictures and policies. Upload your signed bundle. Google will check it before it’s live.